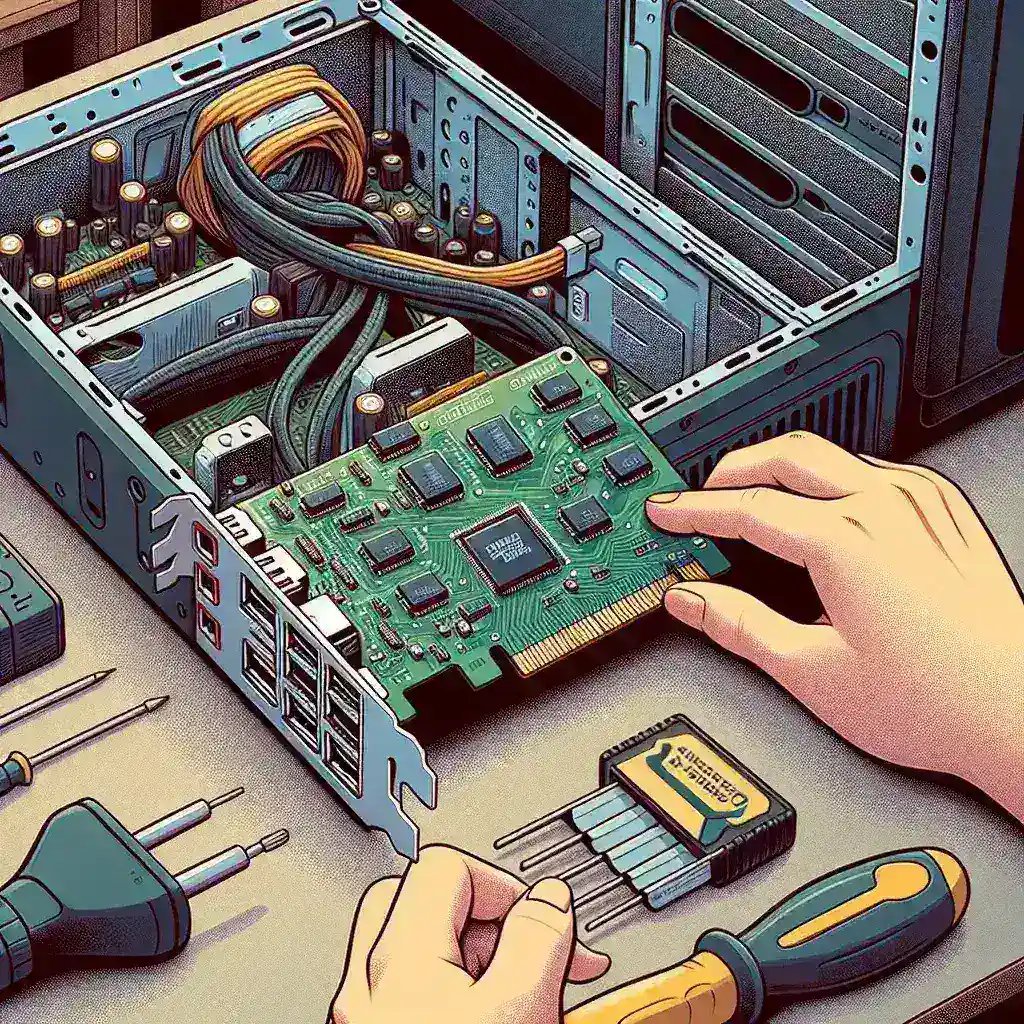
Introduction to Installing a Controller Card for Additional USB Ports
In the digital age, USB ports are indispensable. They allow you to connect a wide range of peripherals, from keyboards and mice to external storage devices. However, it’s not uncommon to find yourself running out of USB ports, especially if your PC or laptop is a few years old. Installing a controller card for additional USB ports is a practical and straightforward solution to this problem. In this guide, we’ll walk you through the entire process, step by step.
Preparation Before Installation
Before you proceed with installing a controller card, it is essential to ensure you have everything ready. This will not only make the process smoother but also help prevent any potential issues.
Required Tools and Materials
- Controller card with additional USB ports
- Screwdriver set
- Anti-static wrist strap
- Computer manual
- Driver software for the controller card (if necessary)
Step-by-Step Installation Guide
Step 1: Power Down and Unplug
First, shut down your computer completely. Make sure to unplug it from any power sources. This is crucial for your safety while working inside the computer.
Step 2: Open the Computer Case
Using a screwdriver, remove the screws on the side panel of your computer case. Once the screws are removed, slide the panel off to expose the internal components of your computer.
Step 3: Ground Yourself
Static electricity can damage sensitive computer components. To prevent this, wear an anti-static wrist strap. Attach the clip to an unpainted metal section of the computer case.
Step 4: Locate the Available PCI Slot
Identify an empty PCI slot on your motherboard, typically found in the lower section of the case. These slots are designed to accommodate additional cards like the USB controller card.
Step 5: Insert the Controller Card
Carefully align the metal connector on the controller card with the PCI slot. Gently but firmly push the card into the slot until it is fully seated. Secure the card with a screw to ensure it doesn’t move.
Step 6: Close the Computer Case
After you have securely installed the controller card, slide the side panel back onto the computer case and screw it back into place.
Step 7: Power On and Install Drivers
Plug your computer back into the power source and turn it on. Once the operating system loads, it may automatically detect the new hardware. If not, you may need to install the drivers that came with your controller card. Follow the on-screen instructions or refer to the manual.
Verification and Testing
Once the installation is complete, it is essential to verify that the new USB ports are working correctly.
Check the Device Manager
Open the Device Manager on your computer. Find the list of USB ports and ensure that the new ports are recognized and properly installed.
Test with USB Devices
Connect various USB devices (like a mouse, keyboard, or flash drive) to each of the new ports to ensure they are functioning correctly.
Troubleshooting Common Issues
Installing a controller card is usually straightforward, but sometimes issues arise. Here are some common problems and their solutions:
- Computer Doesn’t Recognize the Card: Make sure the card is properly seated in the PCI slot and all drivers are correctly installed.
- USB Ports Not Functioning: Verify that the card is getting power by checking the connections inside the computer. Also, ensure that the drivers are updated.
- Conflicting Hardware: Sometimes, new hardware can conflict with existing components. Check your Device Manager for any conflicts and consult the controller card’s manual for troubleshooting tips.
Conclusion
Installing a controller card for additional USB ports is an excellent way to expand the capabilities of your computer. With the right tools and a bit of patience, you can easily complete this upgrade yourself. Doing so will allow you to connect more devices and enhance your computing experience. Always refer to your computer’s manual and the controller card’s instructions for best results.


