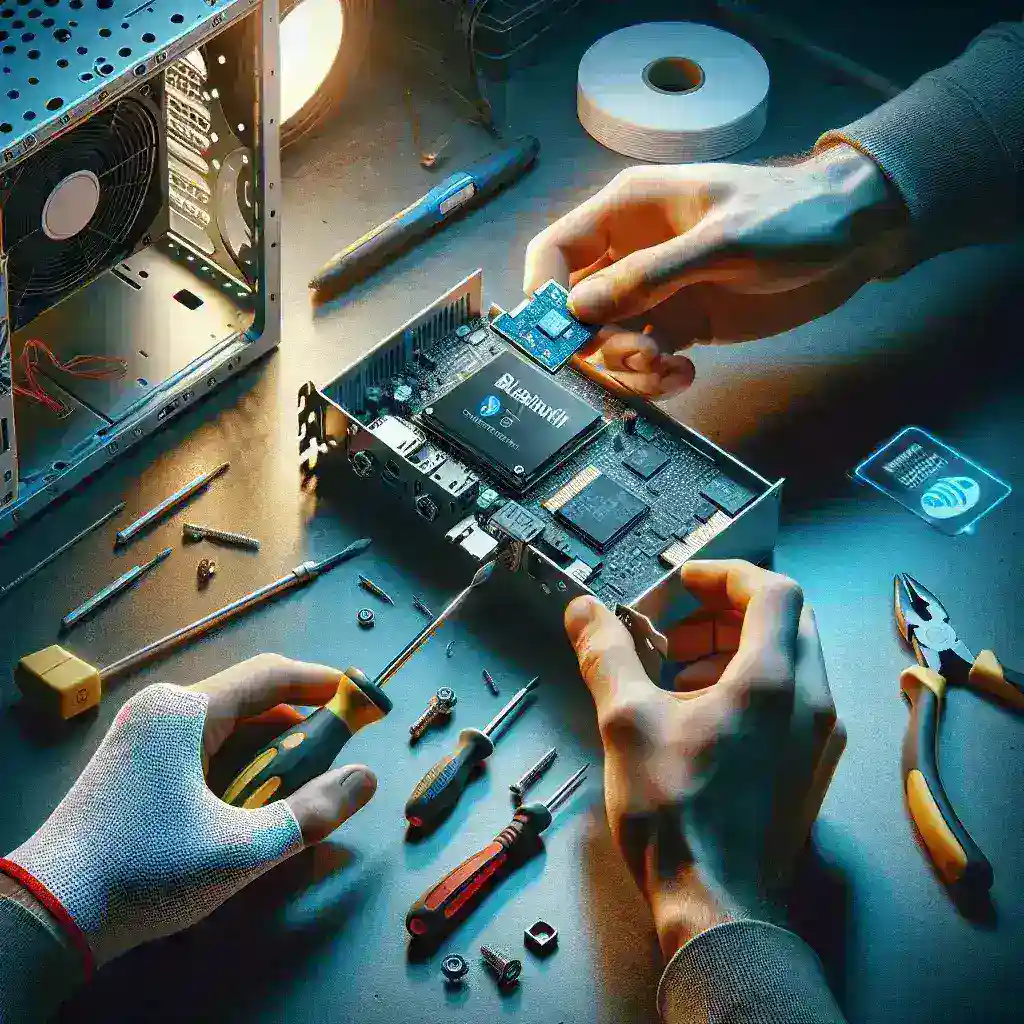
Installing a wireless adapter card for Bluetooth devices in your computer can significantly enhance connectivity and versatility. Whether you’re aiming to connect wireless headphones, keyboards, or other peripherals, adding Bluetooth capability is a straightforward process. This guide will walk you through the essential steps involved in installing a wireless adapter card for Bluetooth devices.
Understanding Bluetooth Adapter Cards
Before diving into the installation process, it’s important to understand what a Bluetooth adapter card is and why you might need one. A Bluetooth adapter card is a hardware component that enables a computer to communicate with Bluetooth-enabled devices. It can be especially useful for desktop computers and older laptops that lack built-in Bluetooth functionality.
Types of Bluetooth Adapter Cards
Bluetooth adapter cards come in various forms. The most common types are:
- USB Bluetooth Adapters: These are external devices that plug into your computer’s USB port. They are easy to install and use.
- PCIe Bluetooth Adapters: These are internal devices that are installed directly onto the motherboard of a desktop computer. They often provide stronger and more reliable connections compared to USB adapters.
The table below summarizes the key differences between USB and PCIe Bluetooth adapters:
| Feature | USB Bluetooth Adapter | PCIe Bluetooth Adapter |
|---|---|---|
| Installation | External, plug-and-play | Internal, requires opening the case |
| Connectivity | Good | Excellent |
| Range | Moderate | Extended |
| Portability | High | Low |
What You Will Need
Before you begin, make sure you have the following items:
- Bluetooth adapter card (USB or PCIe)
- Driver installation disc or access to the internet to download drivers
- A screwdriver (if installing PCIe adapter)
- Anti-static wrist strap (to prevent static damage)
Step-by-Step Installation Guide for USB Bluetooth Adapter
Follow these steps to install a USB Bluetooth adapter:
Step 1: Purchase the Appropriate Adapter
Ensure that you purchase a USB Bluetooth adapter that is compatible with your operating system and meets your connectivity needs. Popular brands include ASUS, TP-Link, and Kinivo.
Step 2: Insert the Adapter
Insert the USB Bluetooth adapter into an available USB port on your computer. You’ll typically hear a sound indicating that the device has been detected.
Step 3: Install Drivers
If a driver installation disc is provided, insert it into your computer’s optical drive. Follow the on-screen instructions to install the necessary drivers. If no disc is provided, visit the manufacturer’s website to download the latest drivers. Install the drivers by following the provided instructions.
Step 4: Verify Installation
Once the drivers are installed, your computer should recognize the Bluetooth adapter. You can verify this by checking the Device Manager (Windows) or System Preferences (macOS).
Step 5: Connect Your Bluetooth Device
Open the Bluetooth settings on your computer and enable Bluetooth. Search for available devices and pair your Bluetooth device with your computer.
Step-by-Step Installation Guide for PCIe Bluetooth Adapter
Installing a PCIe Bluetooth adapter is slightly more complex but still manageable. Follow these steps:
Step 1: Power Down and Unplug Your Computer
Turn off your computer and unplug all cables. Place your computer on a flat, clean surface to work on.
Step 2: Open the Case
Use a screwdriver to remove the screws holding the side panel of your computer case. Carefully remove the panel to access the motherboard.
Step 3: Locate an Available PCIe Slot
Identify an available PCIe slot on the motherboard. PCIe slots are typically located near the bottom of the motherboard.
Step 4: Insert the Adapter
Attach an anti-static wrist strap to prevent damage to the components. Carefully insert the PCIe Bluetooth adapter into the slot. Press down firmly until the card is securely seated.
Step 5: Secure the Adapter
Use a screw to secure the adapter to the case. This will prevent the card from moving.
Step 6: Close the Case and Reconnect Cables
Replace the side panel and secure it with screws. Plug all cables back into your computer.
Step 7: Install Drivers
Turn on your computer. Insert the driver installation disc if provided or download the latest drivers from the manufacturer’s website. Follow the on-screen instructions to install the drivers.
Step 8: Verify Installation
Check the Device Manager (Windows) or System Preferences (macOS) to ensure the Bluetooth adapter is recognized.
Step 9: Connect Your Bluetooth Device
Enable Bluetooth on your computer and pair it with your Bluetooth device through the Bluetooth settings.
Troubleshooting Tips
If you encounter issues during or after installation, consider the following troubleshooting tips:
- Update Drivers: Ensure that you have the latest drivers for your Bluetooth adapter.
- Check Device Compatibility: Make sure that your Bluetooth device is compatible with the Bluetooth version supported by your adapter.
- Restart Your Computer: A simple restart can resolve many connectivity issues.
- Check for Interference: Other wireless devices may interfere with your Bluetooth connection. Try moving the devices closer together or away from other wireless devices.
Conclusion
Installing a wireless adapter card for Bluetooth devices is a relatively simple process that can greatly enhance your computer’s functionality. Whether you choose a USB or PCIe adapter, the steps outlined in this guide will help you achieve seamless Bluetooth connectivity. Always refer to the manufacturer’s instructions for specific details related to your adapter and computer model.


